Top 10 Quick and Easy Upgrades to Improve Your Podcast Quality

Ready to take your podcast to the next level? You’ve come to the right place! Today, we’re diving into the top 10 quick and easy upgrades to improve your podcast quality. From mastering microphone techniques to optimizing your recording environment, it’s time to make those essential tweaks that’ll leave your listeners craving more. So, let’s get started and transform your podcast into a polished, professional, and captivating auditory experience.
Key Takeaways
- Upgrade your microphone and optimize your recording environment to produce professional-quality audio.
- Invest in quality headphones, utilize better editing software, and implement multi-track recording for enhanced remote recordings.
- Learn basic audio editing techniques & use consistent sound design elements for a polished podcast experience.
Upgrade Your Microphone for Enhanced Audio Quality
Audio quality holds paramount importance in any podcast. A professional and clear audio can make all the difference when it comes to listener engagement and retention. A microphone upgrade is a high-priority recommendation to enhance your podcast recording. With the right microphone, background noise can be significantly reduced, and your voice can be captured more accurately. So, if you’re still using that old mic that came with your computer, it’s time for an upgrade.
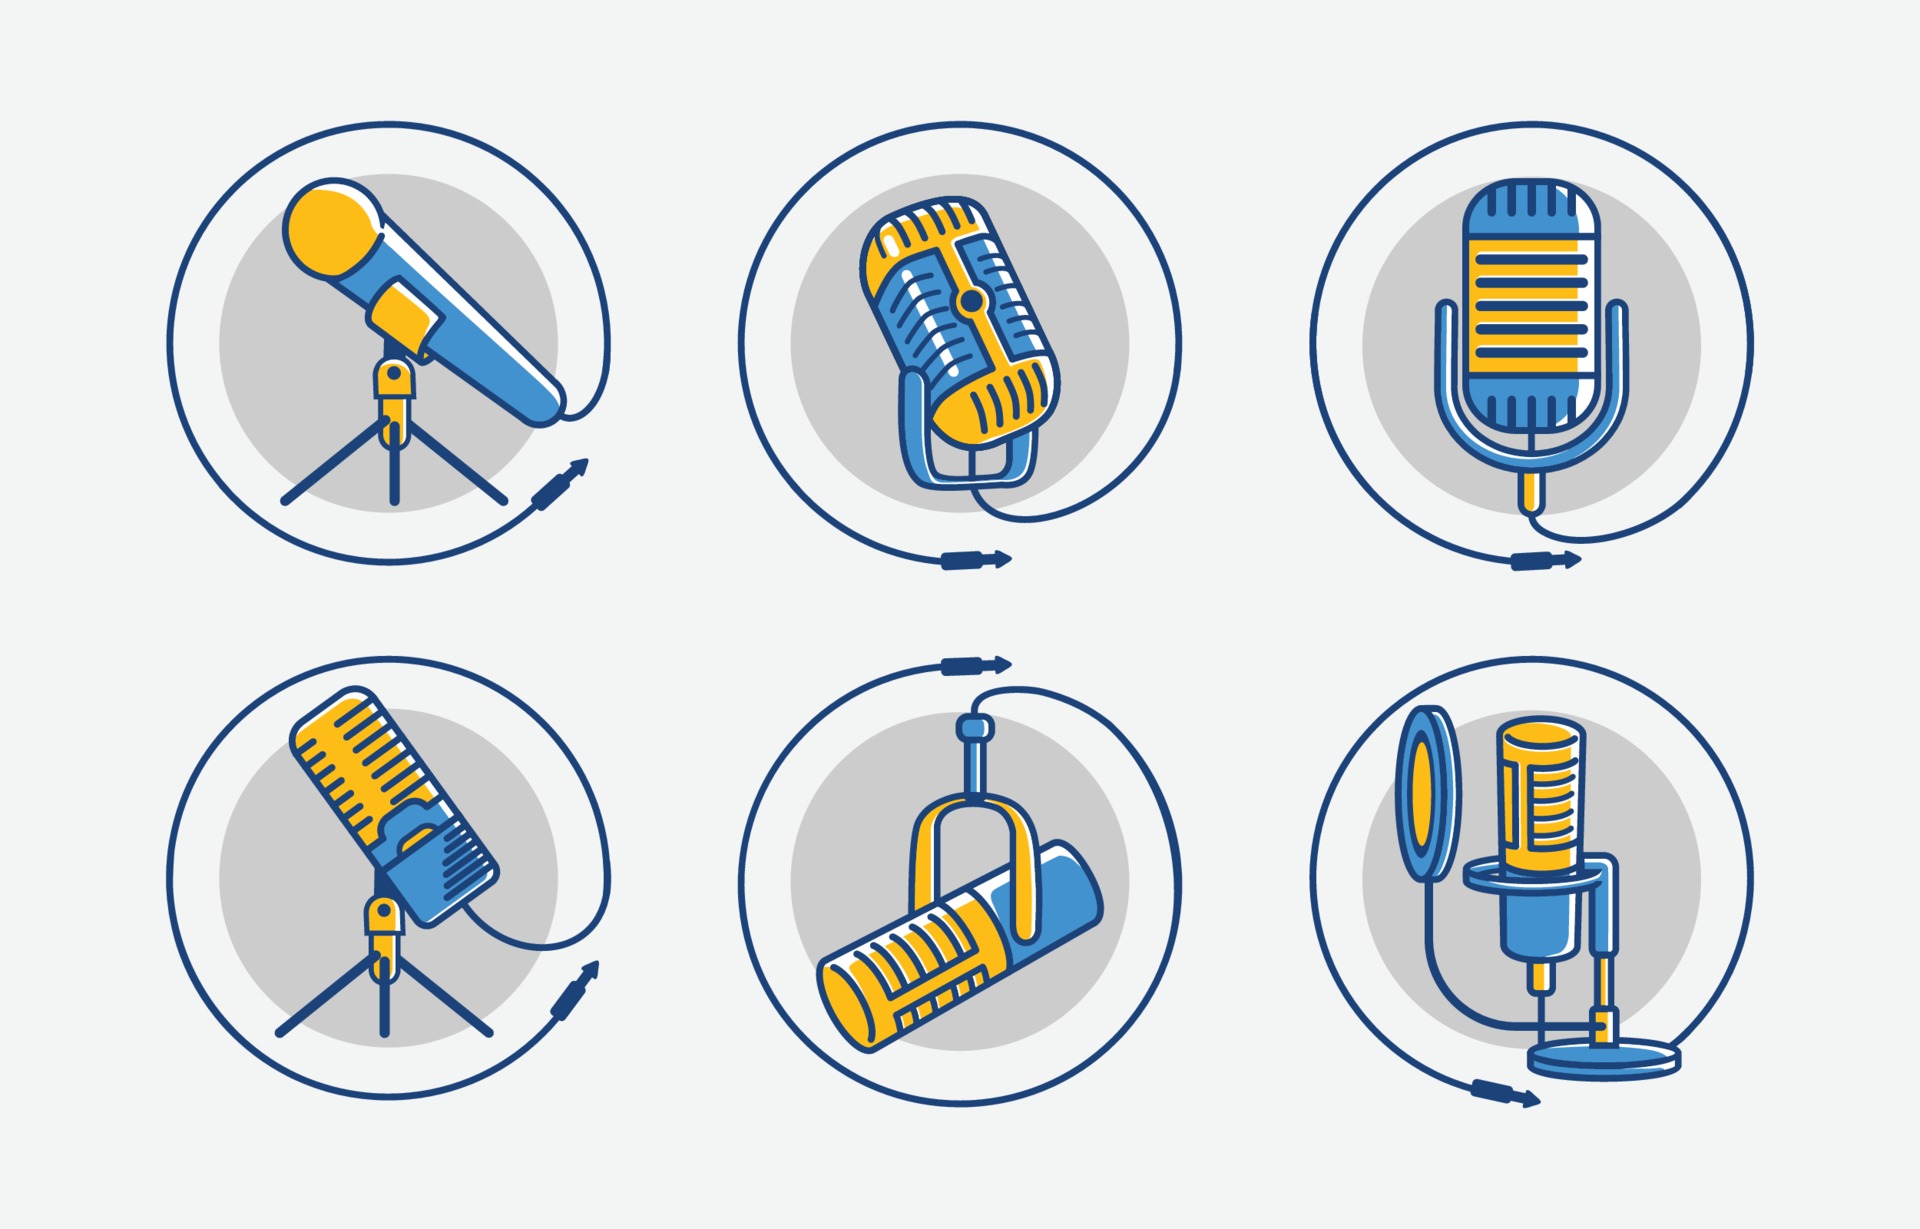
Although selecting the appropriate microphone for your podcast might seem daunting, we’re here to guide you. The forthcoming two subsections will delve into the distinctions between dynamic and condenser microphones, alongside USB and XLR connections. This will help you make an informed decision and select the best microphone for your recording environment.
Dynamic vs. Condenser Microphones
Both dynamic and condenser microphones have their advantages and are widely used in podcast recording. Dynamic microphones are more resilient and better suited for loud environments, while condenser microphones capture more subtlety and are ideal for studio settings, providing professional audio.
Cardioid microphones, a subtype of condenser microphones, are the optimal choice for recording podcasts due to their excellent sound quality and reduced background noise. To decide which type is right for you, consider the specific needs and conditions of your recording environment.
USB vs. XLR Microphones
USB microphones are convenient and straightforward to use, making them suitable for podcasters who prioritize simplicity. On the other hand, XLR microphones offer superior sound quality and require an audio interface, which may include a multi-track recording feature.
The choice between USB and XLR microphones largely depends on your podcasting goals and technical expertise. If you’re looking for ease of use and a quick setup, a USB microphone might be the best fit. However, if you’re willing to invest in an audio interface and desire greater control over your sound quality, an XLR microphone is an excellent choice.
Optimize Your Recording Environment
A well-optimized recording environment is key to achieving the best sound quality for your podcast. By designating a space for podcasting and taking steps to reduce background noise, you’ll make your editing process easier and create a more professional-sounding final product. Consider the acoustics of your space and make adjustments to minimize unwanted sounds and echoes. Test the area by snapping your fingers or clapping your hands, and pay attention to the amount of sound reflection or absorption from the surfaces in the space. With these podcast recording tips in mind, you’ll be on your way to creating high-quality content.
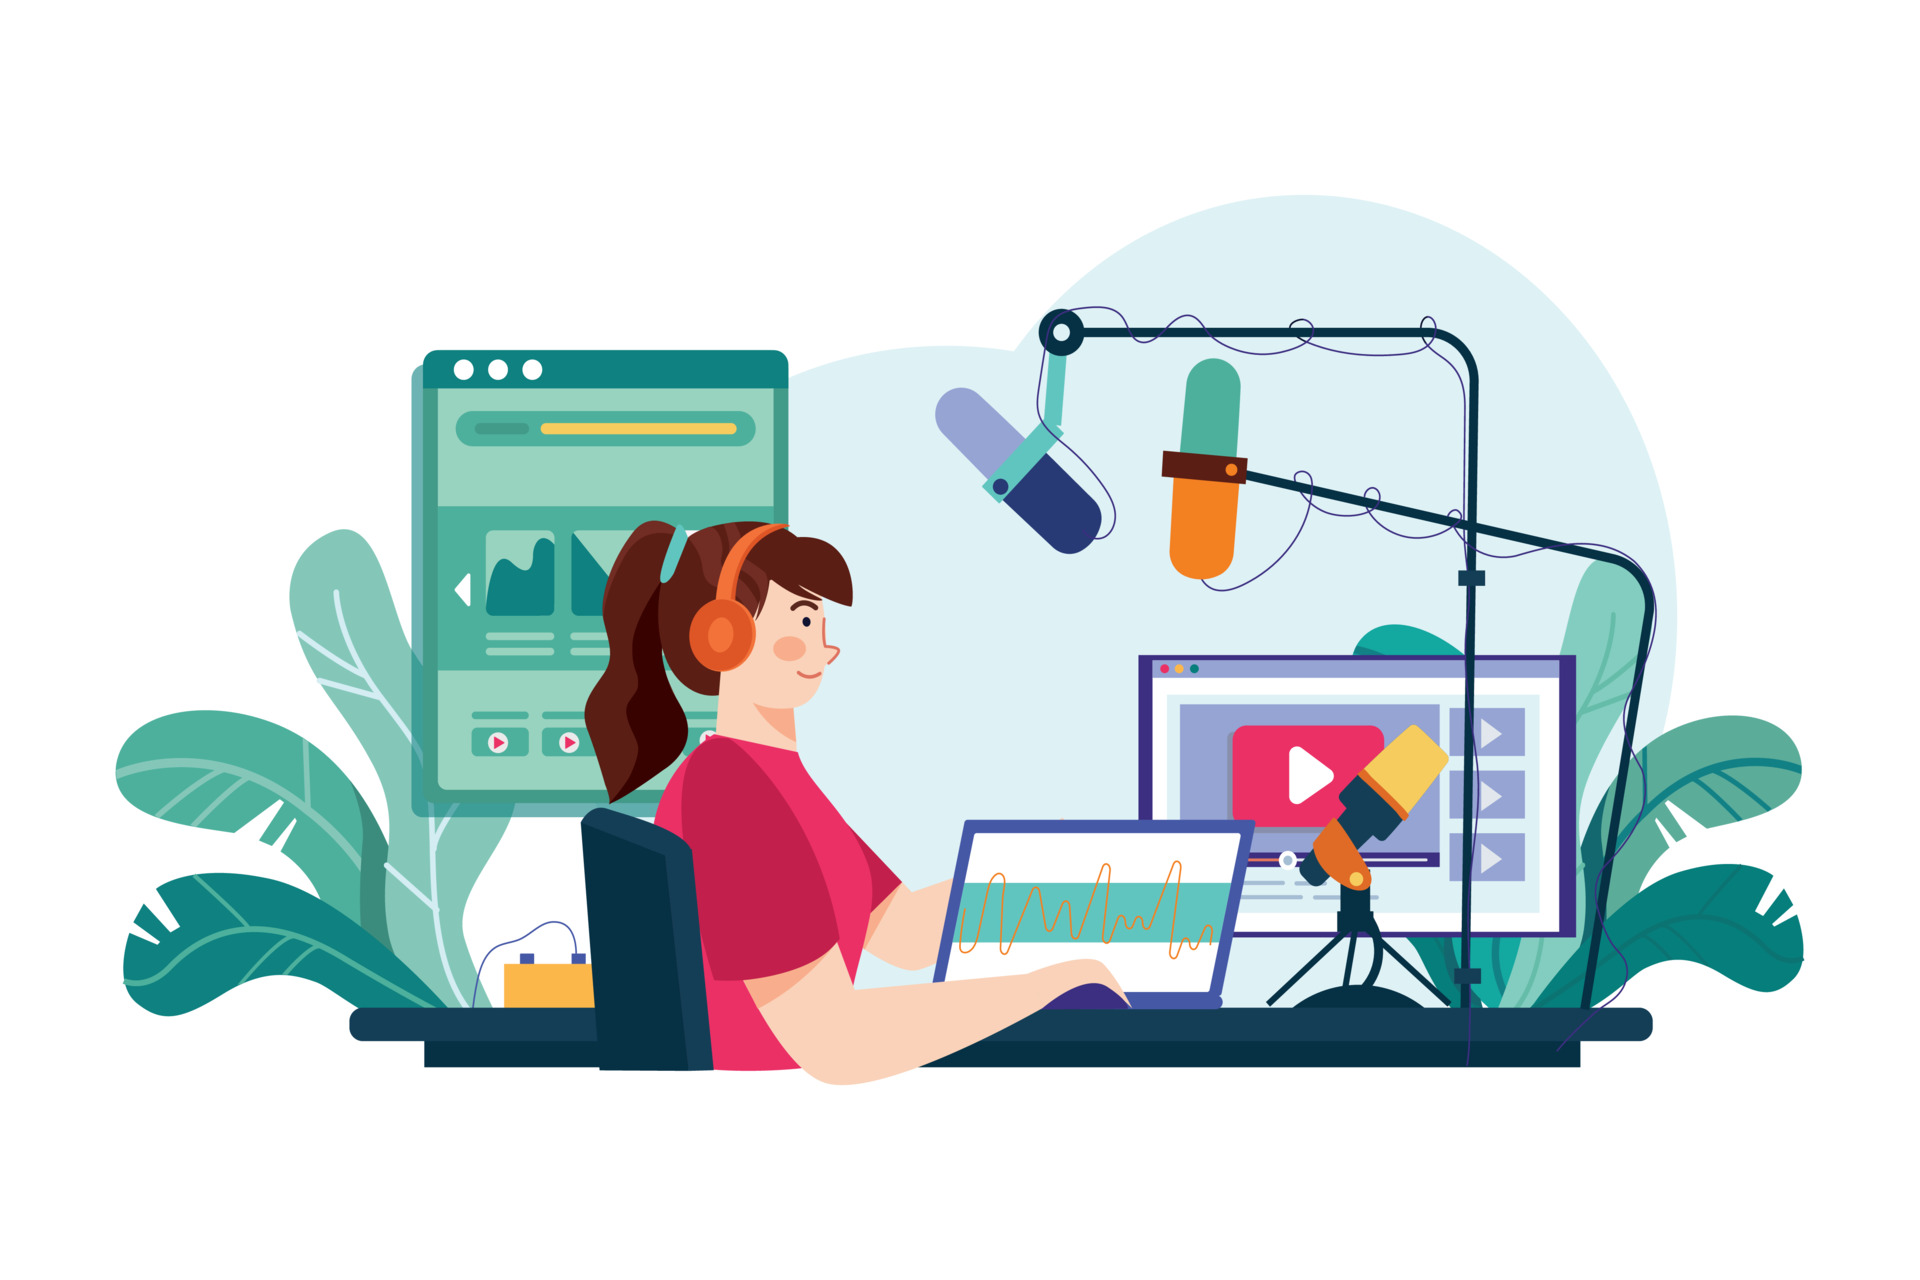
The upcoming subsections will provide insights into soundproofing strategies and room arrangement suggestions to assist you in crafting the perfect recording setting. From DIY solutions to strategic furniture placement, these tips will ensure clean audio and a professional podcast studio vibe.
Soundproofing Techniques
Consider adopting certain soundproofing methods to amplify your podcast’s audio quality and decrease background disturbances. Adding soft materials, bass traps, and acoustic panels to your recording space can help absorb sound and minimize echoes.
If you’re working on a budget, DIY solutions such as using curtains, wall hangings, or even a large plant can also be effective. By investing in proper soundproofing, you’ll create a more professional recording environment and significantly improve the audio quality of your podcast.
Room Setup
Arranging your room for supreme audio quality extends beyond just soundproofing. Ensure that your space is equipped with a suitable desk, a comfortable chair, and that your microphone is situated in an ideal location. A carpeted area close to bookcases but away from walls and windows is often recommended.
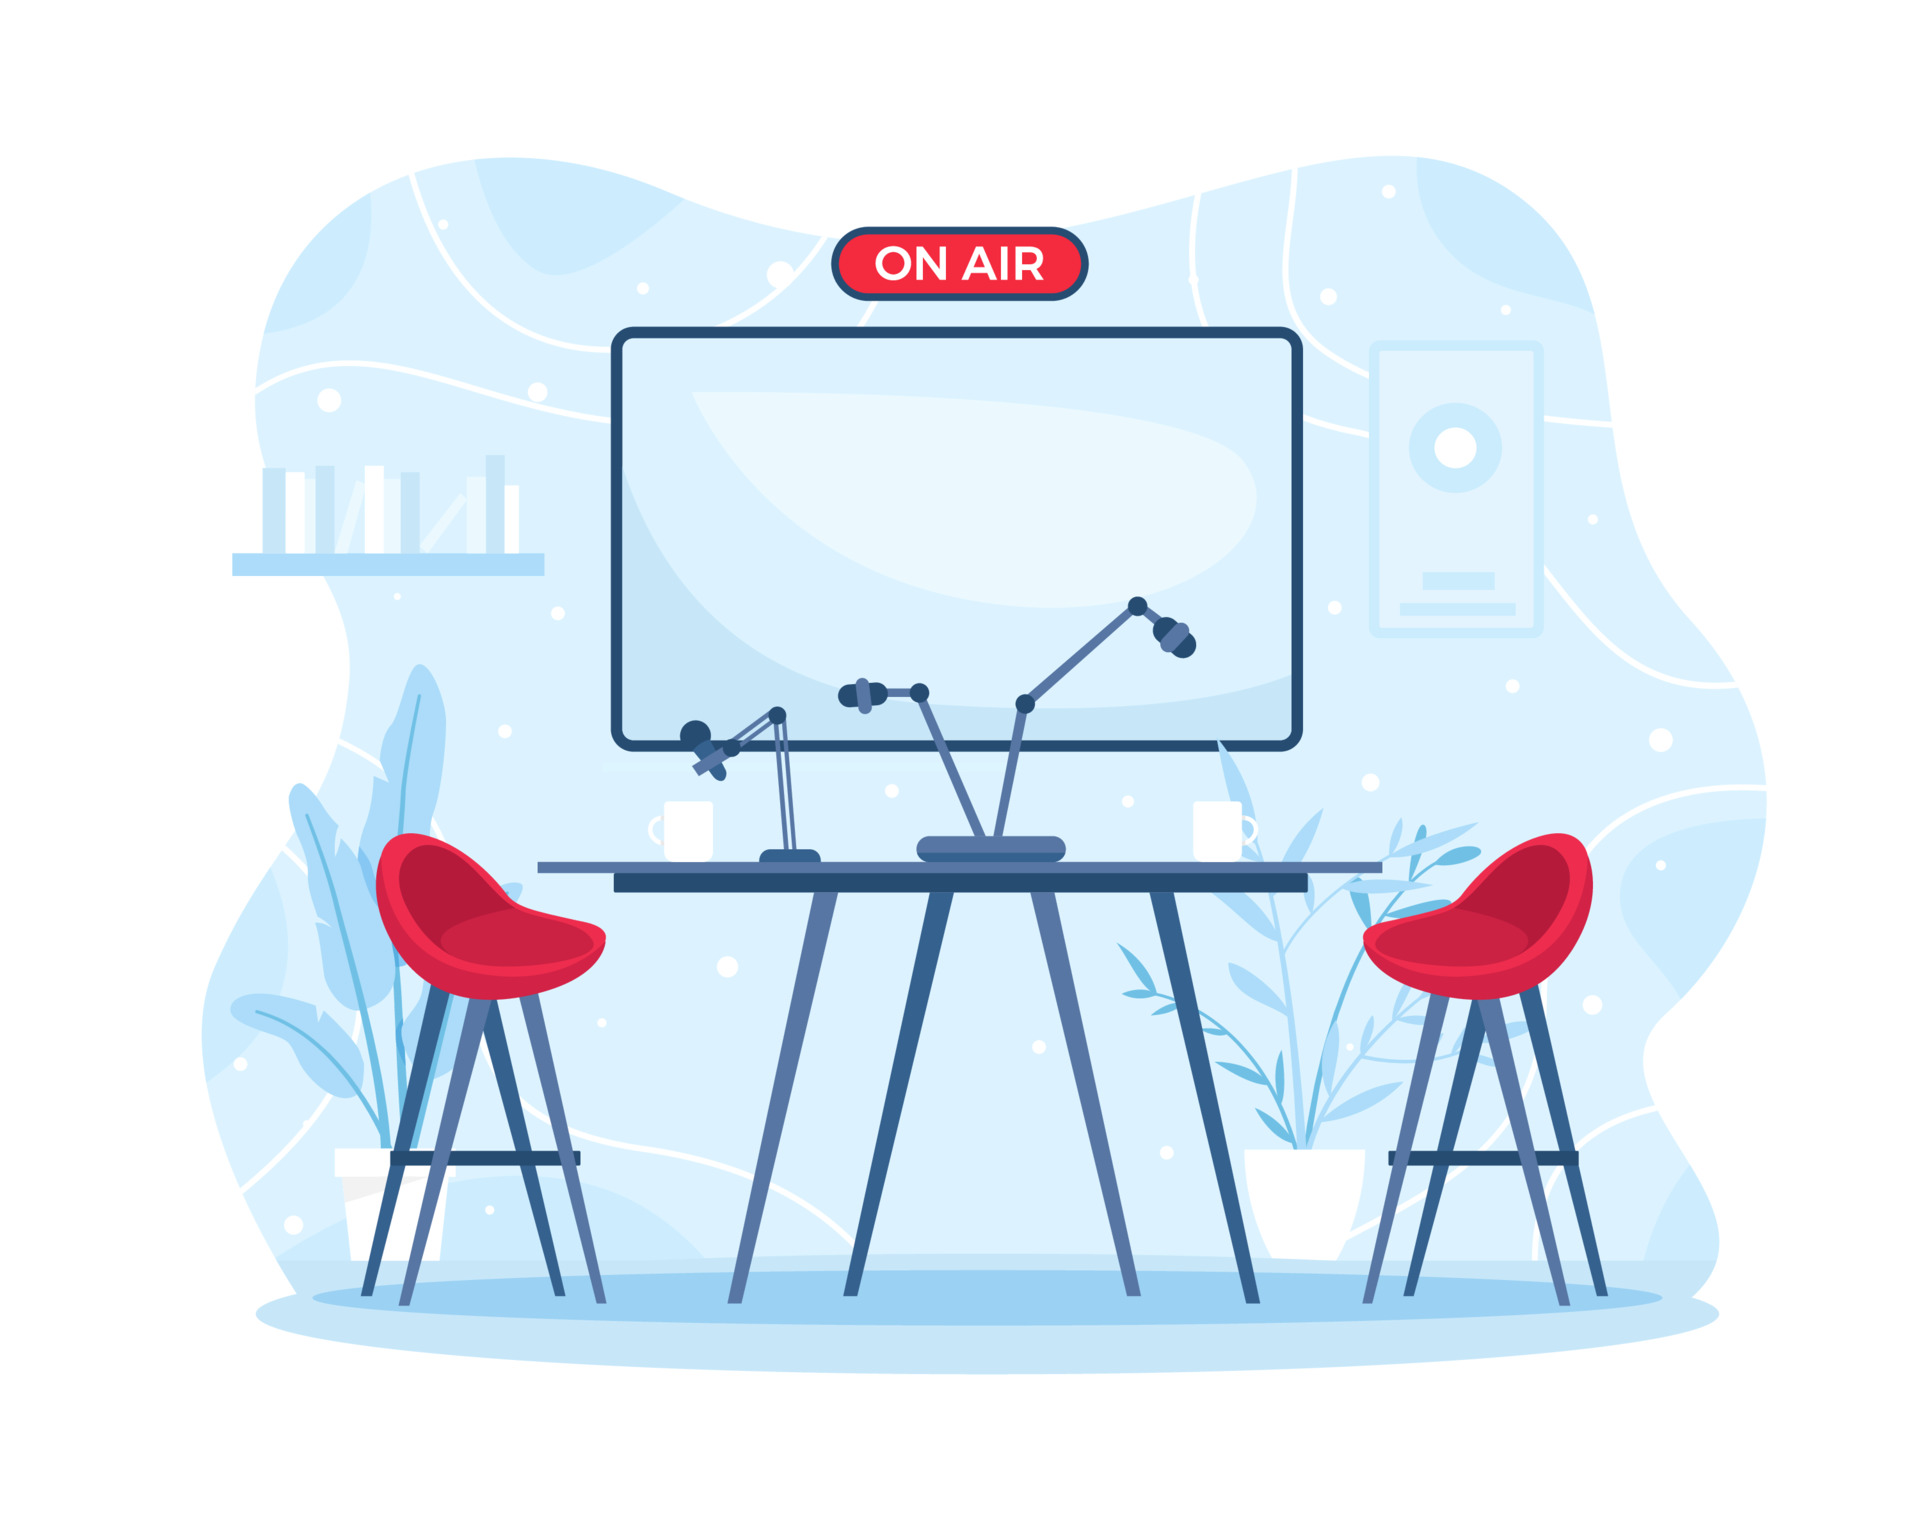
Proper microphone placement is also essential, as it can greatly impact the audio quality of your podcast. By paying attention to the details of your room setup, you’ll create a professional recording environment that will help you produce great audio every time.
Master Your Microphone Technique
Adopting the correct microphone technique is vital to record high-quality audio and cut down on editing time. By mastering techniques such as reducing plosives and monitoring levels, you’ll ensure that your podcast’s audio quality is crisp, clear, and professional. A good starting point is to place the microphone at the same level as your mouth, sit a few inches away, and use a pop filter between your mouth and the microphone. Additionally, always maintain a consistent distance from the microphone while recording.
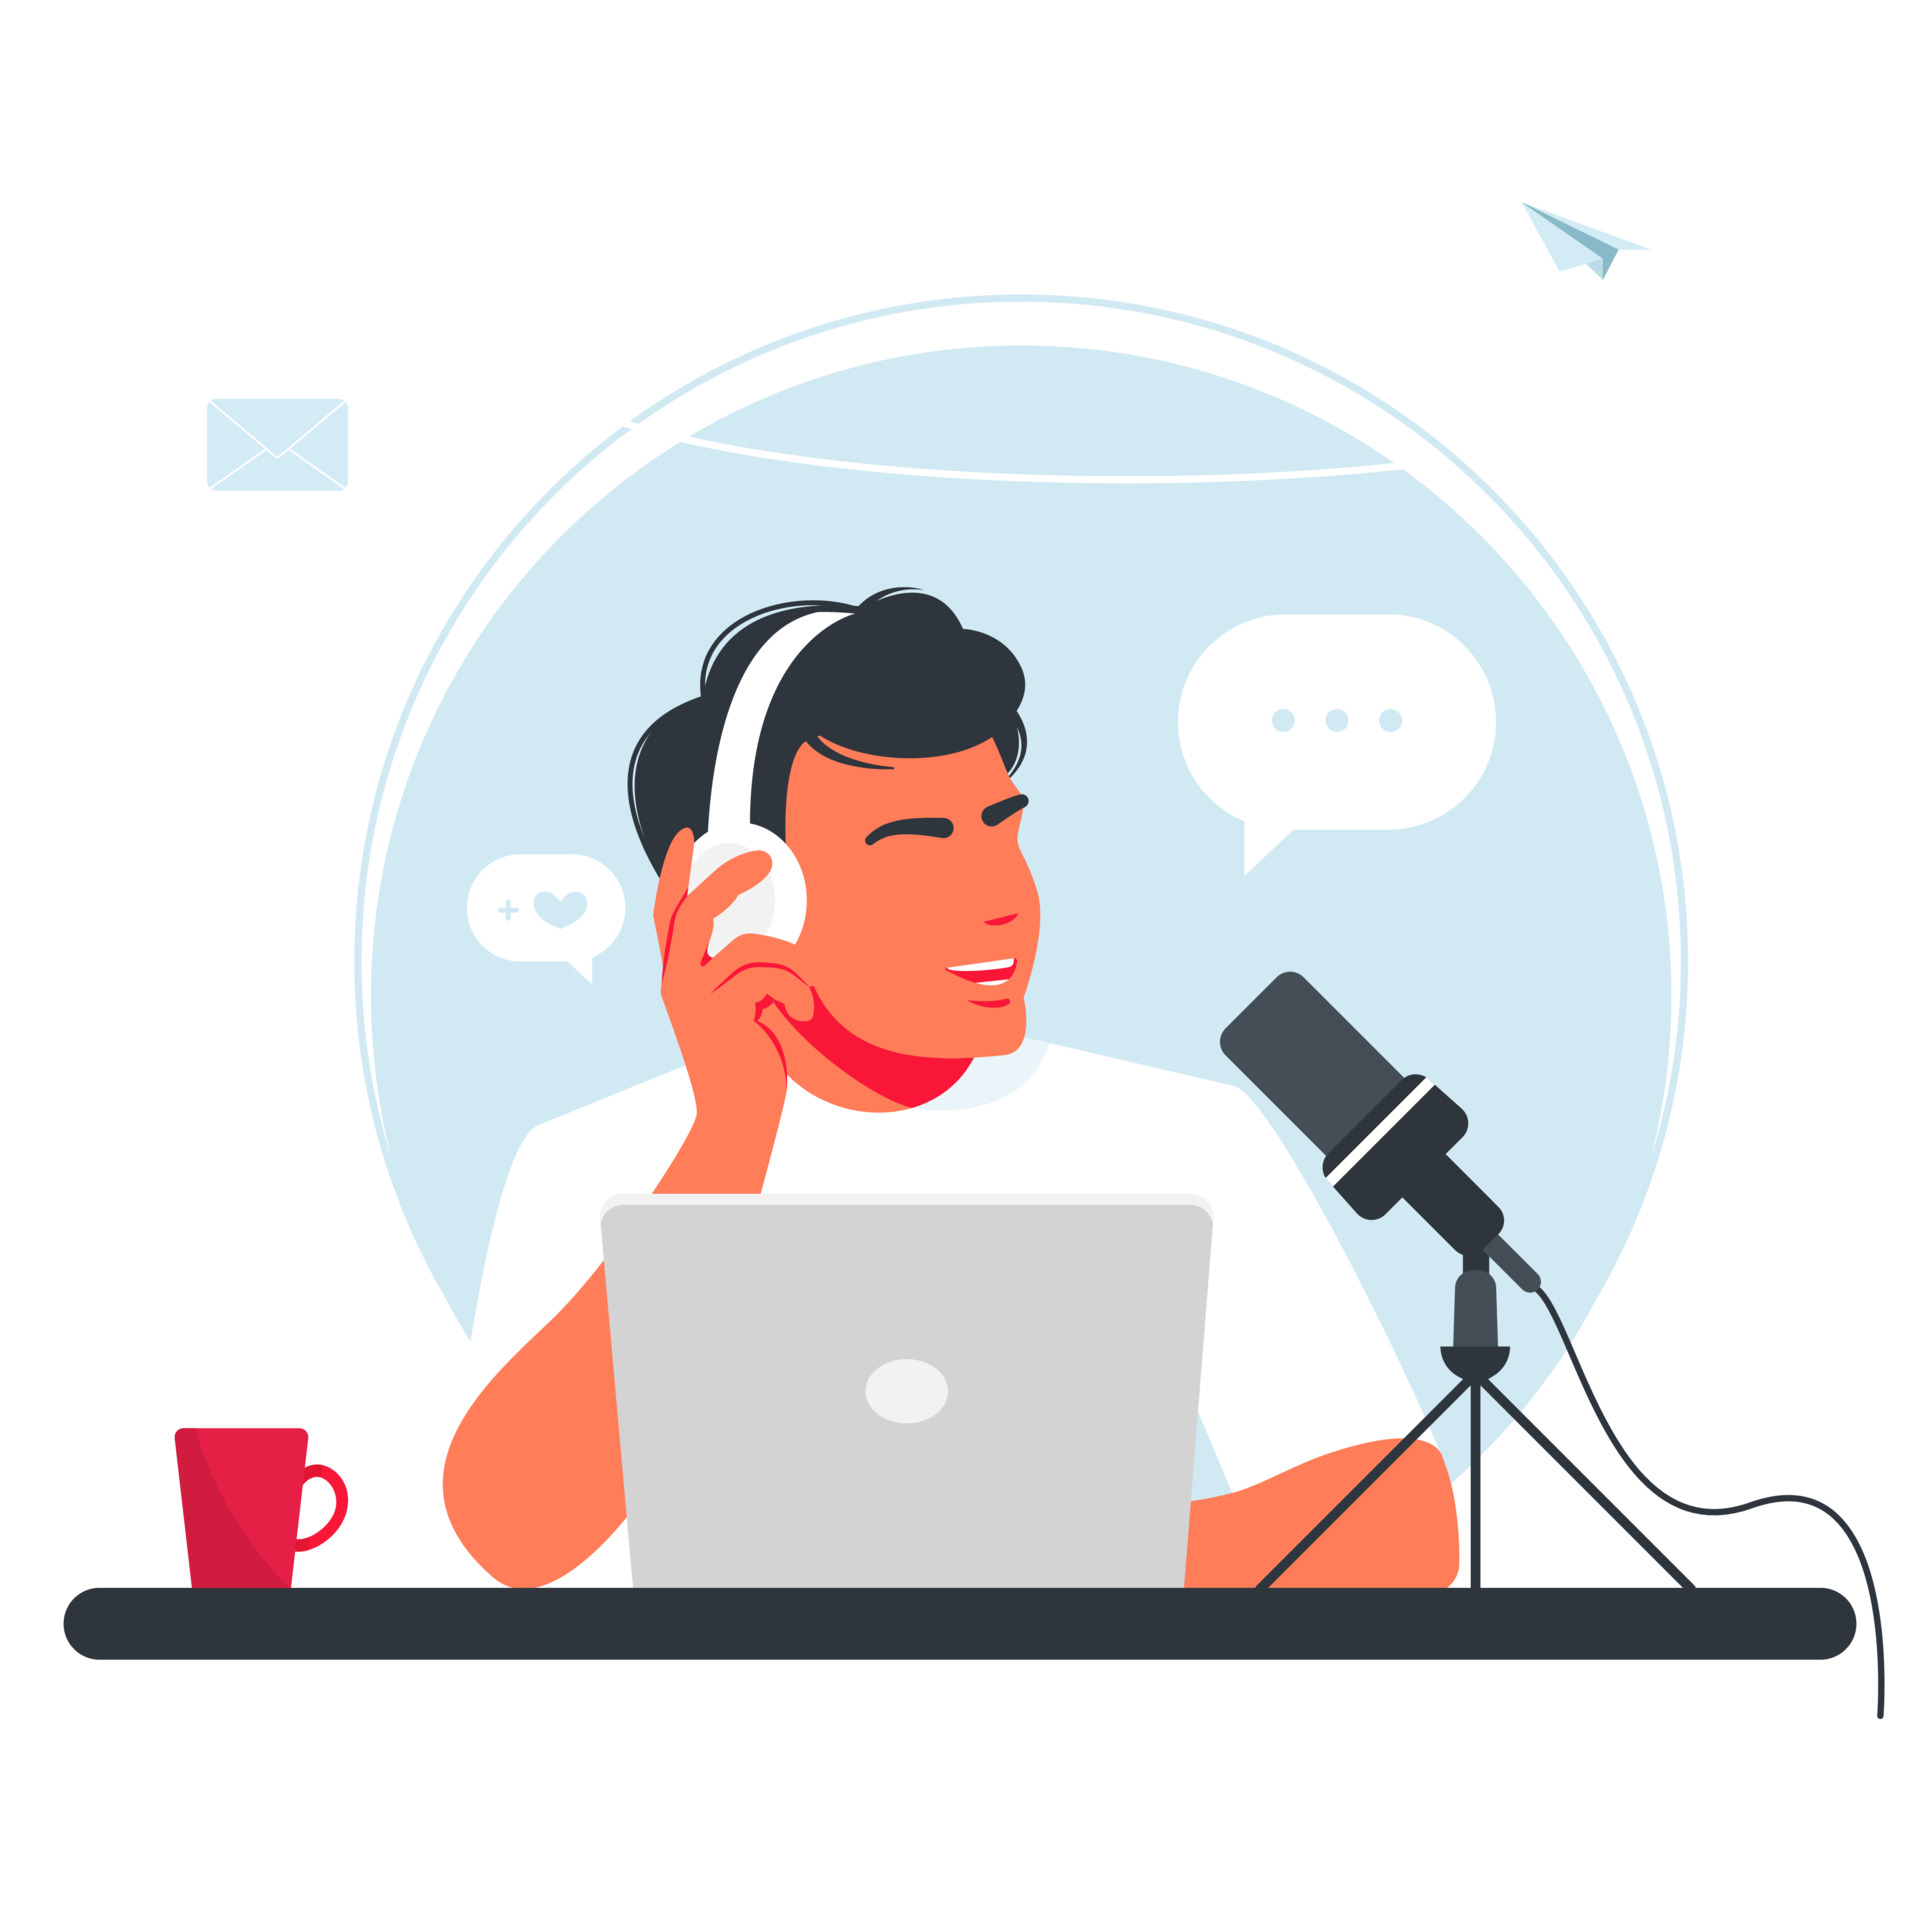
The upcoming subsections will delve into distinct microphone techniques, including minimizing plosives and level monitoring. By understanding and applying these techniques, you’ll be well on your way to producing high-quality audio that will wow your listeners.
Reducing Plosives
Plosives, or the explosive sounds created when pronouncing certain letters like “p” and “b,” can be distracting and detrimental to your podcast’s sound quality. To minimize plosives, use a pop filter and ensure proper mic positioning.
A pop filter is a device placed between your mouth and the microphone that helps minimize the impact of these sudden air bursts. Experiment with different microphone placements and record test audio while wearing headphones to find the optimal position that reduces plosives while maintaining good sound quality.
Monitoring Levels
Keeping an eye on input levels while recording is crucial to prevent clipping and distortion, factors that can degrade your podcast’s audio quality. To monitor levels, use level meters that show the amplitude of incoming and outgoing signals during recording and playback. This allows you to ensure that your audio levels are at the desired level for the best recording quality.
By keeping a close eye on your input levels, you’ll prevent audio issues and save yourself valuable editing time.
Invest in Quality Headphones
Investing in quality headphones is a must for podcasters. They provide a reliable audio reference in diverse settings, making them indispensable for assessing subtle details in a mix. Additionally, quality headphones are a practical alternative to studio monitors when you want to take a break or not disturb those around you. A good pair of headphones can make the difference between a polished, professional podcast and one that sounds amateurish.
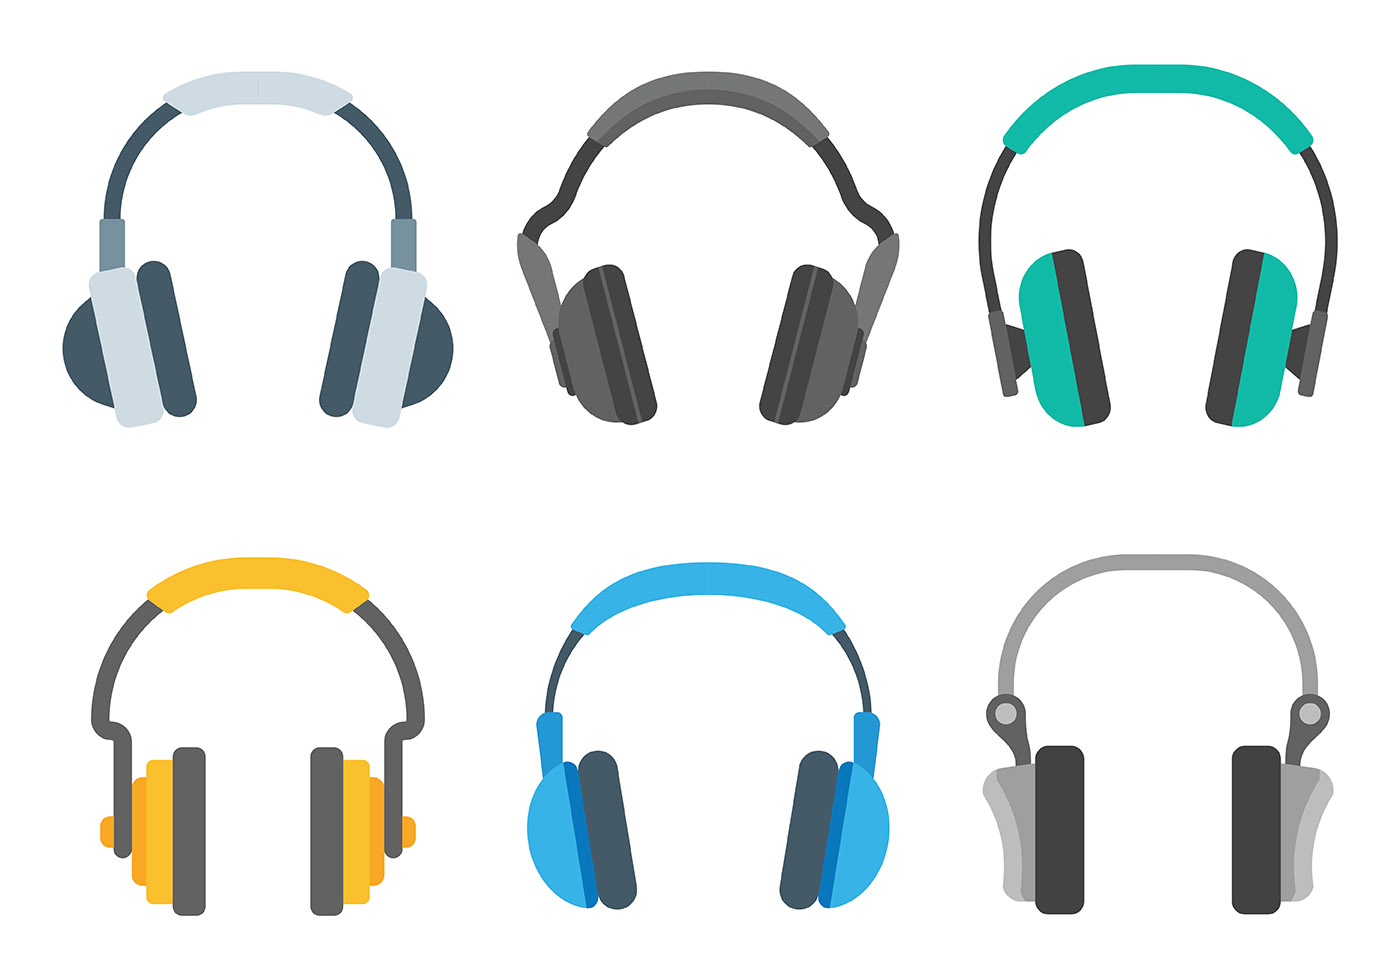
The following subsection will compare closed-back and open-back headphones to help you decide which type is most appropriate for your podcasting requirements.
Closed-Back vs. Open-Back Headphones
While choosing headphones for podcasting, considering the variations between closed-back and open-back models is vital. Closed-back headphones feature a sealed design that isolates sound, offering improved noise isolation and reducing sound leakage. This makes them ideal for monitoring and mixing without distraction.
On the other hand, open-back headphones have an open design that allows air and sound to pass through, providing a more natural and spacious soundstage but with less noise isolation. Ultimately, the choice between closed-back and open-back headphones depends on your specific needs and preferences.
Utilize Better Editing Software
Your choice of editing software can markedly influence your podcast audio quality. With better editing software, you can make more precise adjustments to your audio files, such as noise reduction, equalization, and effects. The right software will make the editing process more efficient and enjoyable, allowing you to create a polished and professional final product with optimal podcast audio quality.
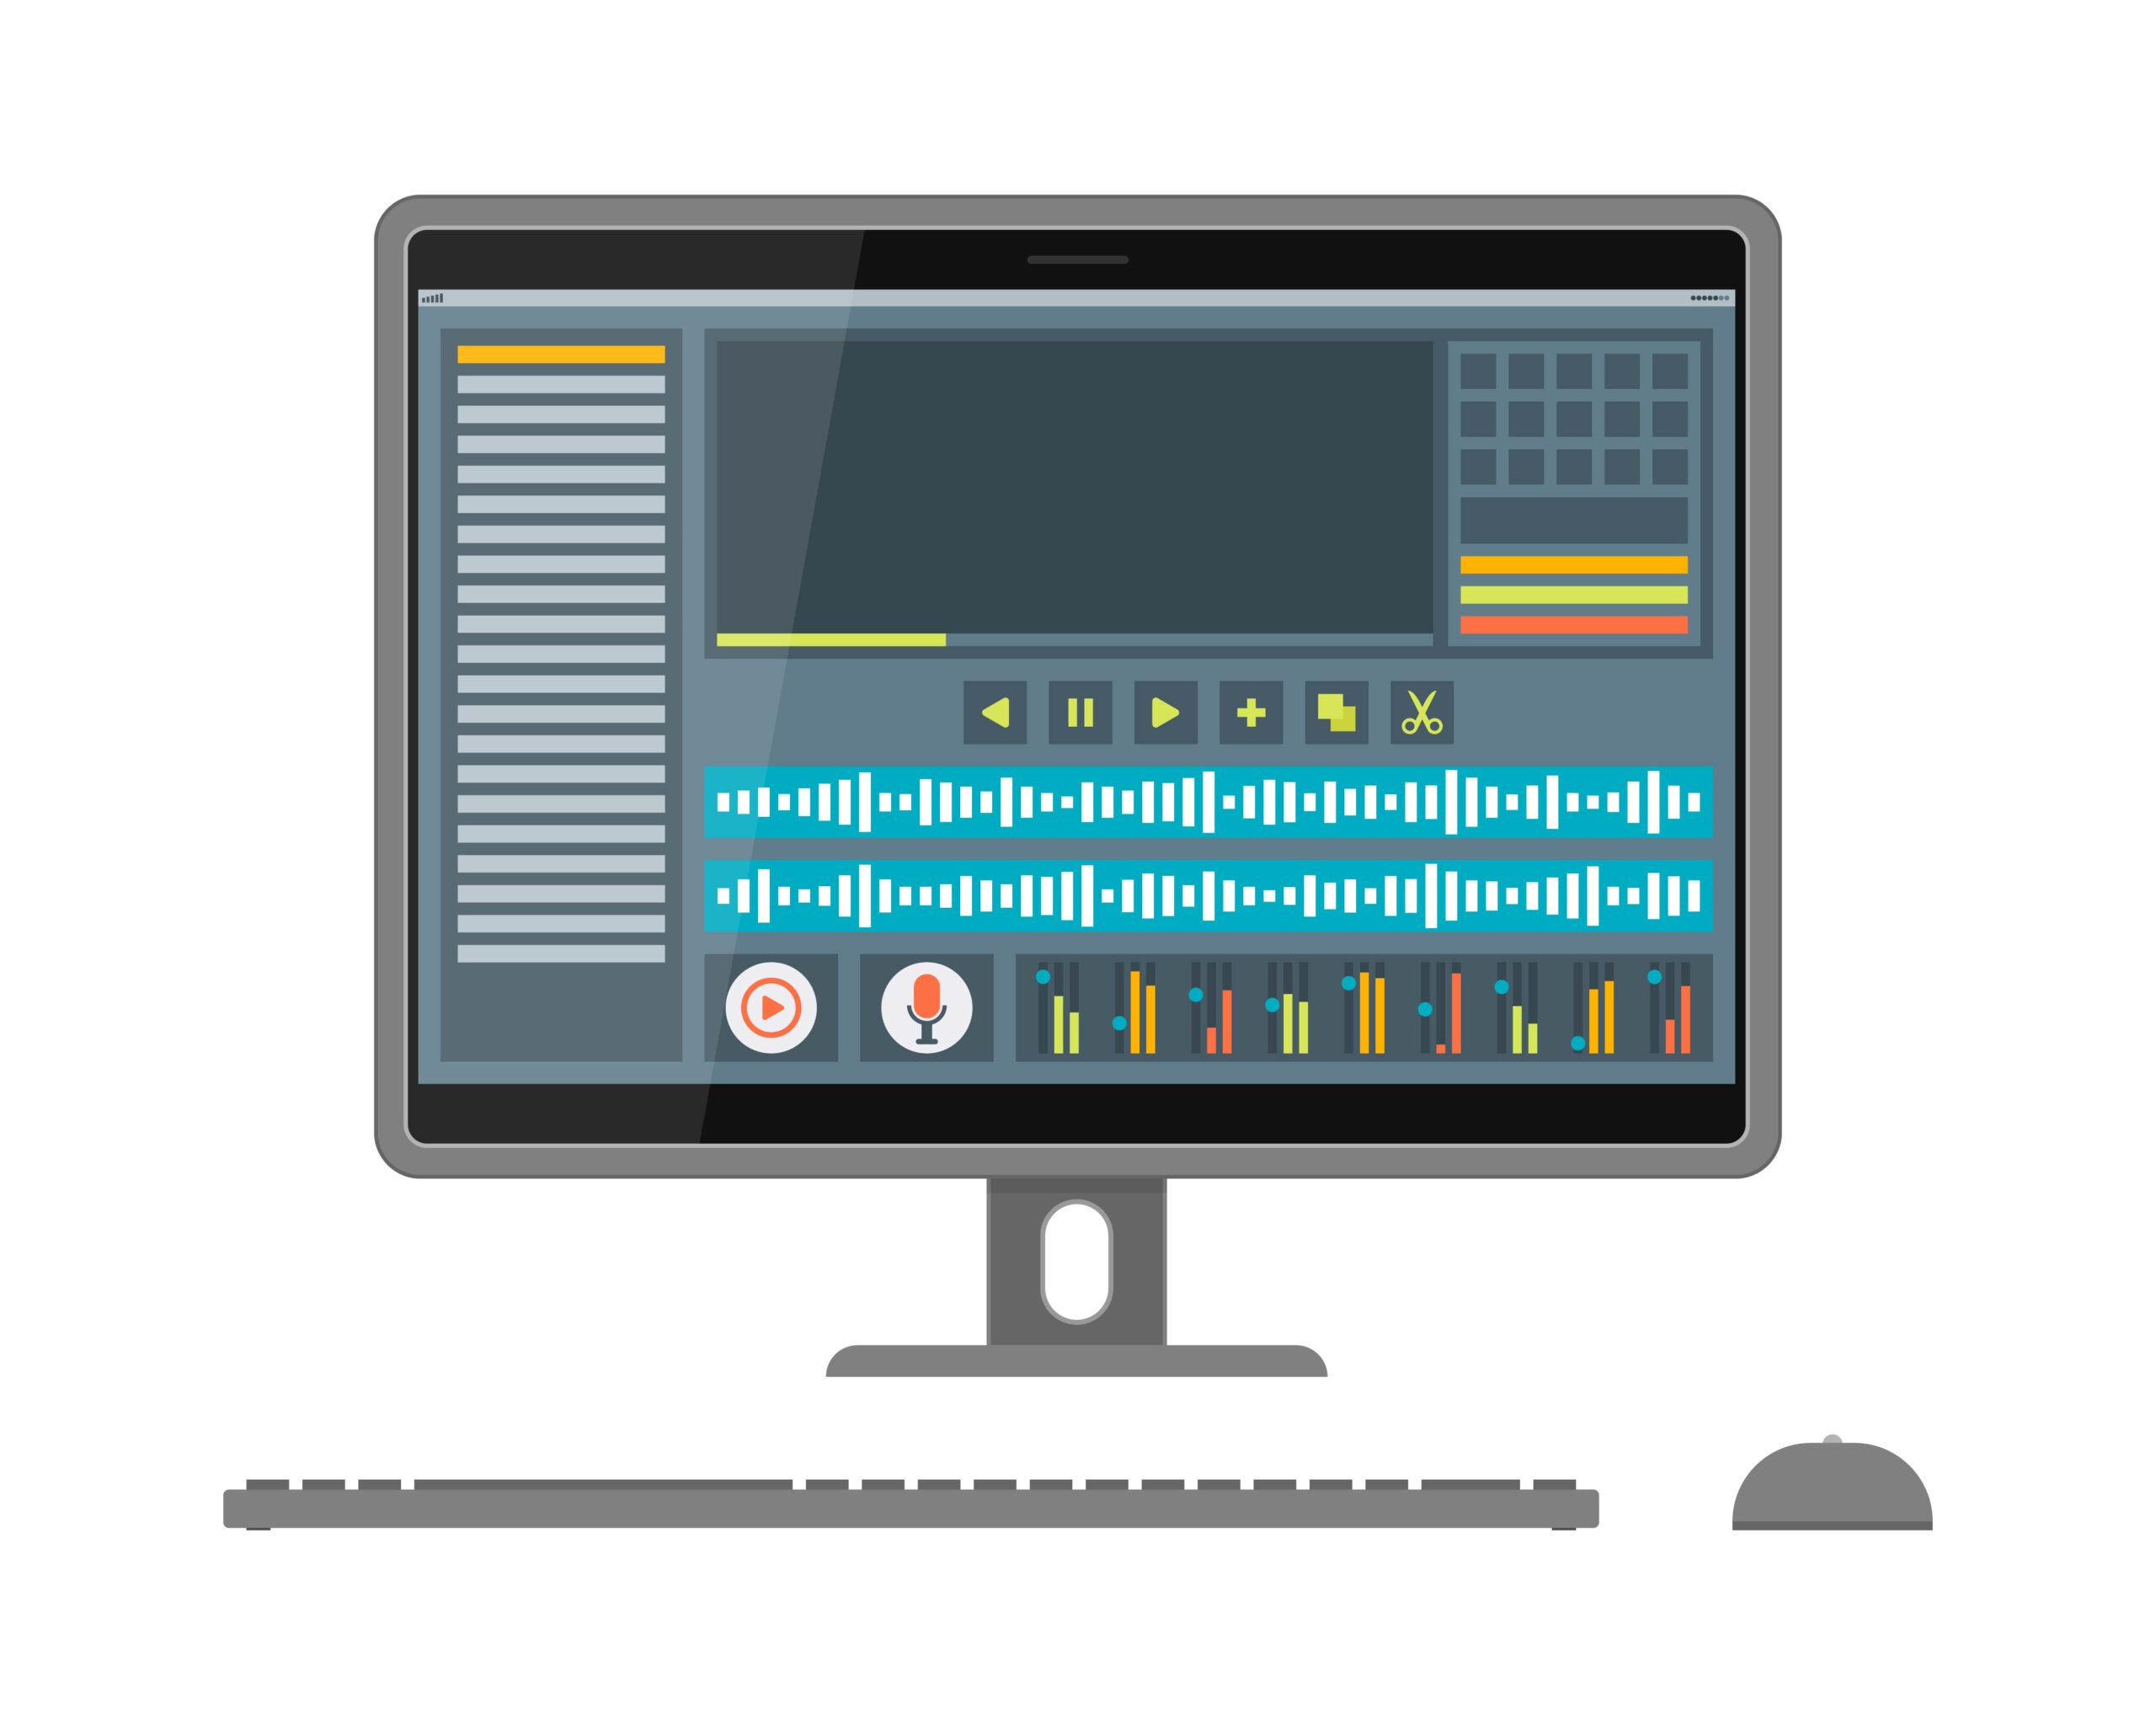
The subsequent subsection will contrast free and paid editing software options to assist you in finding the most suitable one for your podcast production needs.
Free vs. Paid Editing Software
When it comes to editing software, there are plenty of options to choose from, both free and paid. Some examples include:
- Audacity: a user-friendly and widely available free editing software
- Adobe Audition: a paid option that offers advanced features and customization options
- Pro Tools: another paid option that is popular among professional editors
While free software like Audacity can be a great starting point, paid options like Adobe Audition and Pro Tools offer more advanced capabilities for those who need them.
Paid editing software is typically more comprehensive and customizable, but can also be more expensive and challenging to use. The choice between free and paid editing software largely depends on your budget, experience level, and the specific features you require for your podcast production.
Enhance Remote Recording Quality
Given the growing prevalence of remote interviews and collaborations in podcasting, guaranteeing the best possible audio quality is vital. By using VoIP services, tools, and a stable internet connection, you can enhance your remote recording quality and deliver professional-sounding podcast episodes. VoIP services like Zencastr and Riverside offer better remote recording quality, backup options, and a more seamless interview experience.
The upcoming subsections will delve into distinct VoIP services and tools, along with internet connection advice, to aid you in attaining the highest possible remote recording quality.
VoIP Services and Tools
Services like Zencastr and Riverside provide high-quality audio recording over the internet, making them ideal for remote podcast interviews and collaborations. These services offer features such as double-ender recording, automatic backups, and separate audio channels for each participant, giving you more control over the final audio quality.
By utilizing these services and tools, you can ensure a professional and seamless remote recording experience.
Internet Connection Tips
A strong internet connection is crucial for successful remote interviews. To maximize your bandwidth and ensure a stable connection, close any unnecessary applications, disable background downloads, and consider using a wired connection instead of wireless.

If you experience a slow connection during an interview, run a speed test to confirm your internet speed, and contact your internet service provider if needed. By ensuring a strong internet connection, you’ll minimize audio and video issues during remote interviews and create a more professional podcast experience.
Implement Multi-Track Recording
Multi-track recording, a potent tool, offers you enhanced control over individual audio channels during editing. By recording each participant on a separate channel, you can adjust individual volumes and noise profiles, ensuring a balanced and professional sound. This is particularly useful for podcasts with multiple hosts or guests, as it allows you to fine-tune each person’s audio separately.
To implement multi-track recording, individuals can record themselves on their own computer or use recording software with a multi-track recording capability. This will give you greater flexibility during the editing process and help you create a polished final product.
Upgrade Your Audio Interface
Enhancing your audio interface can markedly affect your podcast’s sound quality. A better audio interface will provide improved sound quality and a greater selection of input/output options, allowing you to connect multiple microphones and other recording equipment. This is especially important if you plan to record musical instruments or use multiple microphones during your podcast.
Some popular audio interfaces for podcasters include the Focusrite Scarlett 2i2, Presonus AudioBox, and the Soundcraft Notepad mixer. Each of these interfaces offers a range of features and capabilities, so it’s essential to research and choose the best one for your specific needs and budget.
Learn Basic Audio Editing Techniques
Acquiring fundamental audio editing techniques is crucial to enhancing your podcast’s overall sound quality. Noise reduction, EQ (equalization), and compression are some of the fundamental techniques that can make a significant difference in your podcast’s audio quality. By mastering these techniques, you’ll be able to create a polished and professional sound that will impress your listeners and keep them coming back for more.
To get started with editing your podcast, follow these steps:
- Familiarize yourself with your chosen editing software and explore its features and capabilities.
- Utilize tutorials and online resources to learn about noise reduction, EQ, and compression techniques.
- Practice editing and gain experience and confidence in your skills.
- As you improve, you’ll notice that your podcast’s audio quality improves as well.
- Gradually tackle more complex editing tasks with ease.
Consistent Sound Design Elements
Implementing uniform sound design components such as intros, outros, and sound effects can contribute to a unified and professional own podcast experience. These elements set the tone for your podcast and create a familiar and engaging atmosphere for your listeners. By maintaining a consistent sound design, your podcast episode will stand out from the competition and leave a lasting impression on your audience.
When incorporating sound design elements, ensure they align with your podcast’s brand and content. Be mindful of the volume and duration of intros, outros, and sound effects, and avoid overusing them. By striking the right balance, you’ll create a polished and engaging podcast that keeps your listeners coming back for more.
Summary
In conclusion, improving your podcast quality is a multifaceted endeavor that involves upgrading your microphone, optimizing your recording environment, mastering microphone techniques, investing in quality headphones, utilizing better editing software, enhancing remote recording quality, implementing multi-track recording, upgrading your audio interface, learning basic audio editing techniques, and maintaining consistent sound design elements. By focusing on these areas, you can transform your podcast into a polished, professional, and captivating auditory experience that will keep your listeners engaged and eager for more.
With dedication and practice, these quick and easy upgrades will significantly improve your podcast quality, setting you apart from the competition and ensuring your podcast is a success. So, go ahead and start implementing these tips today, and watch your podcast soar to new heights!
Podcast Chef is here to help!
We’re a white glove, all inclusive b2b podcasting company. We provide a broad range of services from podcast setup and production, through to guest booking and audience engagement. Our team would love to learn more about your goals and see if a podcast can help! Click here to schedule a free consultation and demonstration of some of the results we’ve been able to achieve.
Frequently Asked Questions
How can I improve the quality of my podcast?
To improve the quality of your podcast, use the right equipment, record in a quiet environment, warm up before recording, mute any audio that is not essential, eliminate background noise, and address any sound issues early. Using the right equipment is essential for a good podcast. Make sure to record in a quiet environment, and warm up your voice before recording. Mute any audio that is not essential, and eliminate any background noise. Address any sound issues early to ensure the best quality podcast.
What makes a weak podcast?
A weak podcast usually has poor sound levels or excessive background noises, making it difficult to understand. A strong host can also distract from the conversation by talking or laughing too loudly. All of these factors make a podcast challenging to listen to.
What should I normalize my podcast to?
For best results, normalize your podcast to a peak level of -1.0 dB and a LUFs (short term) level for the highest possible gain without going over 0dB.
What’s the difference between dynamic and condenser microphones?
Dynamic microphones are better suited for louder environments, while condenser microphones are perfect for capturing detail in the studio.
How can I soundproof my recording environment?
To soundproof your recording environment, use soft materials, bass traps, and acoustic panels to absorb echoes and reduce background noise.